CAR CARE
How to Clean Your Car's Interior Yourself (A 30-Minute Method That Doesn't Need a Detailer)
The professional detail costs $150 and takes half a day. The DIY version costs $30 in supplies, 30 minutes of your time, and gets you 85% of the way there — if you do the steps in the right order and don't skip the one nobody tells you about.
A car's interior gets dirty in a way no other space in your life does. It's a small, sealed room that heats up to 140°F on a summer afternoon and cools to freezing overnight; it's the only room in your world where you regularly eat while you're moving; and it collects dust, tracked-in grit, pollen, kids' cracker crumbs, dog hair, coffee splashes, and the invisible film of skin oil on every surface you touch. Left alone for six months it turns into a slightly grim environment that you stop noticing until a passenger sits in your car and their face does something you weren't hoping to see.
The good news: a full DIY interior detail isn't hard, and it doesn't take the four hours a professional shop bills for. Thirty minutes of focused work, done in the right order with a handful of the right tools, gets a normal-condition car back to genuinely clean — the kind where the vents don't launch dust when you turn the fan on and the steering wheel doesn't feel tacky. Here's the sequence, why the order matters, and the one step (it's the pre-cleaning trash pass) that almost every casual guide skips.
Step 1: strip the car (before you touch a single cleaner)
Open all four doors and the trunk, then empty the car completely — floor mats out, trash out, kids' backpacks and gym bags out, the pile of napkins from the glovebox out, everything in the door pockets out, the coins and stray M&Ms in the center console out. Set everything you're keeping in a laundry basket or on a tarp on the ground; throw the actual trash in a bag right now. This is the step that separates a 30-minute clean from a 90-minute one, because every subsequent step (vacuum, wipe-down, seat cleaner) goes 3× faster on an empty car than on one where you're working around a car seat, a diaper bag, and a Yeti that keeps rolling toward the pedals.
Take the floor mats out and give them a hard shake or a vigorous whack against a wall — the amount of loose grit that comes off a rubber all-weather mat that's been in your car for four months is genuinely surprising. If they're fabric floor mats, this is also the moment to hit them with a stiff brush and a spray of upholstery cleaner and set them aside to air-dry while you work on the rest of the car. Rubber mats can be hosed off and left leaning against the car; the whole set will be dry by the time you're done with the interior.
Step 2: vacuum in the right order (top down, and get into the seams)
Vacuuming is 60% of the visible improvement in an interior detail, and doing it in the correct order saves you from re-doing it. Top down: headliner (a soft brush attachment, gentle passes — the headliner fabric is glued and can be dislodged by aggressive vacuuming), then the seatbacks and seat cushions (both fabric and leather benefit from a vacuum first — grit in the seams is what scratches leather when you wipe it), then the door panels and door pockets, then the center console cracks and cup holders (a crevice tool is not optional here), and finally the carpets and floor mats. Going bottom-up means everything you dislodged from the seats and dashboard falls into a floor you just vacuumed, and you get to do it twice.
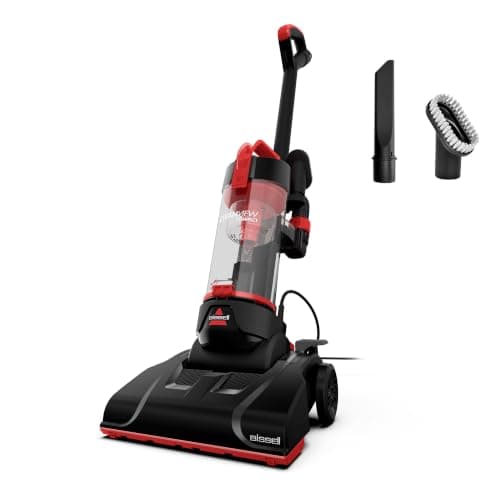
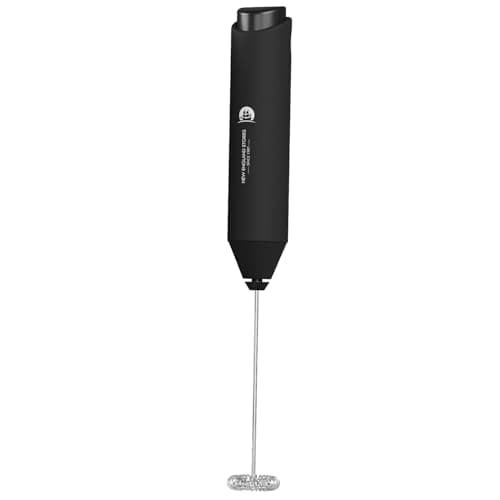
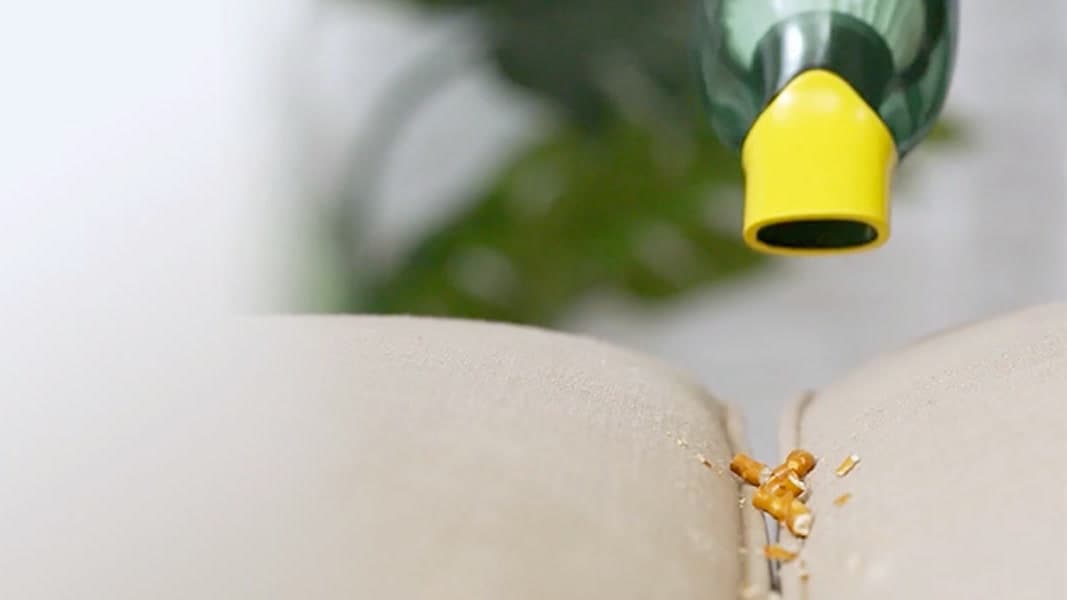
The vacuum problem in a car is usually the vacuum itself. A full-size household upright is too big to fit around the pedals and under the seats, its hose is too short to reach into the far corner of the trunk, and dragging it out to the driveway on an extension cord is enough friction that most people just skip it. A cordless handheld car vacuum solves the whole equation — it fits in the footwell, reaches under the seats, and has the crevice tools designed for exactly the console-and-vent geometry cars have. The JetVac was a mainstream example, but its store has closed; the Horsepower Duck is our current pick: cordless, USB-charged, small enough to keep in the glovebox, with a bendable tube, crevice nozzle and brush tool. Whichever handheld you use, having it live in the car rather than the garage is what turns 'I should vacuum sometime' into 'I did that this morning while the coffee brewed.'
Step 3: wipe down every hard surface (in one pass, with the right cleaner)
Every hard surface in a car — dashboard, center console, steering wheel, door cards, gear shifter, cup holders — accumulates a mix of skin oil, food residue, and airborne dust that bonds into a tacky film over months. A generic multi-surface cleaner is often too harsh (it can dry out or discolor modern soft-touch plastic, especially the rubberized coating on dashboards) and household glass cleaner is too aggressive on the same surfaces plus screens. The right tool is either a purpose-made automotive interior cleaner (Meguiar's Quik Interior Detailer, 303 Aerospace, Chemical Guys Total Interior, or any equivalent) or a very mild soap-and-water solution — a few drops of dish soap in a spray bottle of warm water, applied to a microfiber cloth, never sprayed directly onto electronics.
The technique that matters: spray the cloth, not the surface. Direct spraying on a dashboard drips into vents, seams, and — worst — the electronic panels around the infotainment screen and steering column. Wipe every hard surface systematically, one panel at a time, and flip to a clean side of the cloth when the one you're using looks visibly dirty. Do the steering wheel last, because it's the surface your hands touch most and picks up cleaner residue easily. If you have a touchscreen infotainment system, use a microfiber cloth barely damp with distilled water — never a cleaner — and never spray anywhere near the screen. Ten minutes of hard-surface wiping and a car goes from 'lived-in' to 'looks like a rental someone just cleaned.'
Step 4: seats — different chemistry for fabric vs. leather
Fabric seats: an upholstery cleaner sprayed onto the fabric, worked in with a soft-bristled brush in small circles, then blotted (don't scrub) with a clean microfiber towel to lift the loosened dirt into the cloth. Repeat on stains until the towel comes up mostly clean. Leave the windows down and the doors open so the seats can dry — wet fabric seats in a closed car will mildew. For set-in stains (coffee, grease, that mystery spot on the passenger seat), a household spot cleaner designed for carpet works fine, but test it on an inconspicuous area first because some upholstery fabrics discolor. A wet/dry shop vac genuinely helps if you have one, but a firm towel-blot works acceptably.
Leather seats: vacuum first (grit + leather + wiping = fine scratches), then a purpose-made leather cleaner (Lexol, Chemical Guys Leather Cleaner, or equivalent) worked with a soft cloth or leather brush. Wipe off residue with a clean microfiber cloth, and finish with a leather conditioner every few months to prevent the surface from drying and cracking — especially on cars parked in the sun. Skip household glass cleaner, saddle soap, and 'all-purpose' sprays on leather; the surface has a clear-coat top layer that these products slowly strip. Wipe down leather steering wheels and gear shifters with the same cleaner while you're at it — those surfaces wear faster than the seats because they're gripped with slightly damp hands all day.
Step 5: glass, screens, and the vents (the fine-detail pass)
Windows go last, because any cleaner or dust you kicked up in earlier steps would just re-coat freshly cleaned glass. Use a dedicated automotive glass cleaner (avoid ammonia — it fogs tinted windows and can damage window-mounted tint film) with two microfiber cloths: one to apply, one to buff dry, in straight strokes rather than circles. Inside windshields are the streaky-window nightmare of car detailing because they're at a steep angle, they collect the outgassing residue from every plastic surface in the cabin (that faint 'new car film' is real), and you can never quite reach the far corner. A microfiber cloth wrapped around a specific tool sold as a 'windshield reach cleaner' is the correct piece of gear for this and takes ten seconds if you have one.
Vents are the last frontier. Dust settles in the vent slats and gets blown into your face every time you turn on the fan, and no household tool reaches into a 3 mm slat. The two solutions that work: a soft foam paintbrush (the cheap kind from a hardware store) run along each slat, and a can of compressed air blown through the vents with the fan on medium to flush what the brush loosened. Do this with the car doors open unless you enjoy inhaling six months of dust. Screens (infotainment, gauge cluster, backup camera) get a dry microfiber cloth or, at most, one barely damp with distilled water — never any cleaner and never any product labeled 'anti-static'.
Step 6: the 5-minute weekly reset that keeps the detail from decaying
A full detail lasts about two weeks in a normally-used car before it starts sliding back. What extends it: a five-minute reset each week that hits the three surfaces that get dirty fastest — a quick vacuum of the driver footwell (that's where most re-tracking happens), a wipe of the steering wheel and gear shifter (skin oil accumulates fastest here), and a quick swipe of the cup holders (spilled coffee is why they get sticky first). Keep a microfiber cloth in the glovebox and a small pack of interior wipes in the door pocket, and the reset takes almost no thought.
The other habit that matters: the trash rule. Any trash generated in the car leaves the car when you leave the car. A small trash container that hooks to the back of the front seats works well for families; a simple bag on the passenger floor works for solo commuters. Anything else — receipts, food wrappers, empty cups, water bottles — accumulates fast, and once you have five items on the passenger floor a sixth stops feeling like a problem. Between the weekly reset and the trash rule, a car that's been detailed once stays presentable for two to three months before the next full 30-minute session, which is honestly better than what most car owners maintain.
See our handheld car vacuum pick
JetVac's store has closed, so our review now points to the Horsepower Duck: a $39.99 cordless handheld with a bendable tube, crevice nozzle and brush tool, small enough to live in the glovebox for 5-minute resets.
See our handheld car vacuum pickFrequently asked questions
What's the best way to clean the inside of your car yourself?
In this order: (1) strip the car — floor mats out, trash out, everything you own out; (2) vacuum top-down (headliner, seats, doors, console cracks, then carpets), using a crevice tool for seams; (3) wipe every hard surface with a purpose-made interior cleaner sprayed onto a microfiber cloth (never sprayed directly onto electronics); (4) clean the seats using upholstery cleaner for fabric or a dedicated leather cleaner for leather, always vacuuming first to remove grit; (5) do the glass last (two microfiber cloths, apply-and-buff, straight strokes); (6) finish the vents with a soft foam brush and compressed air. Thirty minutes for a normal-condition car, no professional detailer required.
Do I really need a special vacuum to clean my car?
You need something that reaches into a small space and gets into 2 mm seams — a full-size household upright is the wrong tool because the hose is too short, the body doesn't fit around the pedals, and it's a pain to drag out. A cordless handheld car vacuum is a huge upgrade for exactly this use case: it fits under seats, reaches into center consoles, and comes with the crevice attachments designed for car geometry. It also lives in the car (glovebox or trunk), which turns spot-vacuuming crumbs and pet hair into a two-minute job instead of a 20-minute production. If you already have a shop vac in the garage, it'll do the job with a crevice attachment; if you don't, a purpose-made handheld is the right tool (our JetVac review explains why the Horsepower Duck is now our pick).
How do I clean stained car seats without ruining the fabric?
Vacuum first to remove grit (which becomes an abrasive when you wet the fabric and scrub). Then spray upholstery cleaner directly on the stain, let it dwell for 60 seconds, work it in with a soft-bristle brush in small circles, and blot — don't scrub — with a clean, dry microfiber cloth to lift the loosened dirt into the towel. Repeat if needed. For leather, use a purpose-made leather cleaner (never household glass cleaner or all-purpose spray), wipe with a soft cloth, then follow with a conditioner every few months to prevent cracking. Test any product on an inconspicuous area of the seat first, and leave the windows down after cleaning so wet fabric can dry before mildew sets in.
What household cleaners are safe to use on a car interior?
Very few, and it matters. Household glass cleaner (Windex and equivalents) contains ammonia that can damage tinted windows and dashboard soft-touch plastic. All-purpose sprays are usually too harsh for modern rubberized dashboards and will strip the topcoat on leather. Bleach is a hard no on any fabric or leather surface. The safe household option is a few drops of mild dish soap in warm water sprayed onto a microfiber cloth (not sprayed on surfaces directly). For screens, distilled water on a barely-damp microfiber cloth and nothing else. Purpose-made automotive interior cleaners cost $8–15 and are formulated for the specific plastics and coatings modern car interiors use — for anything beyond a quick wipe, they're worth the upgrade.
How often should I clean my car's interior?
A full 30-minute interior detail is realistic every 6–8 weeks for a car in normal use, more often if you have kids, pets, or eat regular meals in the car. Between full details, a five-minute weekly reset (vacuum the driver footwell, wipe the steering wheel and shifter, empty the cup holders and trash) prevents the slow buildup that makes the next full detail take longer. The trash rule — anything generated in the car leaves with you — is the single habit that makes the biggest difference in how presentable a car stays between details.
What's the fastest way to make a dirty car interior presentable in 10 minutes?
Skip the deep-clean order. Empty all obvious trash (2 minutes), vacuum the driver-side floor and front seats with a handheld — a handheld car vacuum is what makes this possible in the time budget — (3 minutes), wipe the steering wheel, gear shifter, and infotainment area with a microfiber cloth and a spray of interior cleaner (2 minutes), swipe the cup holders and door pockets (1 minute), and quick pass on the inside windshield with two microfiber cloths (2 minutes). That's a rideshare-clean car, not a professional detail — but it's the difference between 'I'd rather not' and 'sure, get in' for a passenger walking up to your car unannounced.
TopCrate is reader-supported. When you buy through links on our site we may earn an affiliate commission, at no extra cost to you. Content is for general information and isn't a substitute for professional advice.